Here's How I Made My Favourite Accessory Using Braiding
- Ananya Banka
- May 10, 2022
- 4 min read

Hii! I am adding one more thing to my list of hobbies which is braiding.
Braiding is like a form of fabric construction. It is very different from knotting as that uses knots to create the designs. Braiding is more like interlacing the cords to create different patterns. It is like weaving.
Once you understand how it works and get the hang of it, there is no turning away from it. Yes! It is that interesting. I have tried knotting as well but braiding somehow tops for me.
You can use as many number of cords that you wish to but it should be more than 3 at least.
I referred to some videos to learn how to braid in different ways. I'll add the links for you below-
For my first braiding exercise, I made bracelets. I used two colors of nylon cords- pink and white and braided 4 cords of them. At first, the sizes were a little issue because I didn't really understand how to measure but it got better after a few tries.
TIP- always take longer cords than needed because unlike knotting, braids can be opened and keep measuring every few braids so that you know exactly when to stop.
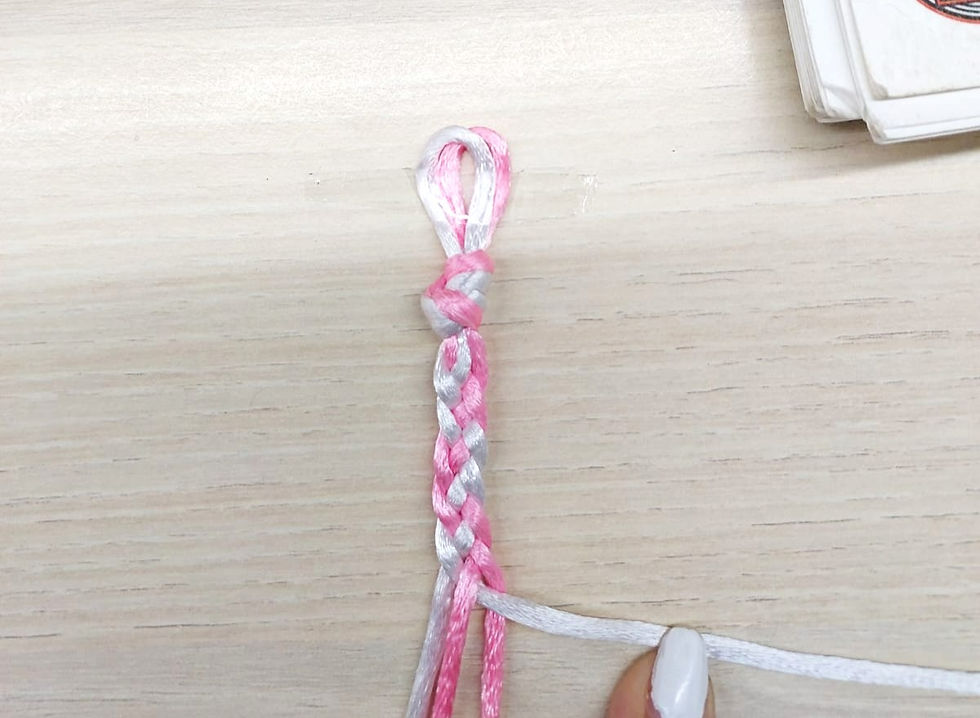
I used one long strand of white and one of the same size of pink and folded them in the middle to get four strands. Right below the hoop, I tied a knot so that it was secured.

Usually, rods or some sort of support is used for braiding, to hang the cords. But I didn't have anything like that so I just taped it on the edge of the table and made sure it wouldn't move. It worked quiet the same.

With the four strands, I used the basic weaving technique. I took the left most strand and went one-up one-down till it became the right most strand. I kept repeating this using only the left most strand.
This is how the final look was. My friend and I both made friendship bracelets and gave it to each other. I am using that as a key chain for my stationery pouch!


After getting the hang of it a little, the final accessories that I made were a set of bracelets and a head band. I am totally obsessed with the head band because it goes with almost everything!
The set has three bracelets, out of which two are braided.
For those two, I used 3 long strands of thin cord and folded them in the middle to get 6 strands. Again I taped them together so that they didn't move while I was working.
The first braid is a regular braid that we do using 3 strands. Its used for braiding the hair too. Instead of 3, I used 6 strands but in a way that 2 strands together worked as one.
The second braid was a little tricky. It is called a round braid because it looks like a cord once done. For this too 6 strands are needed. You can find all the references in the links above.

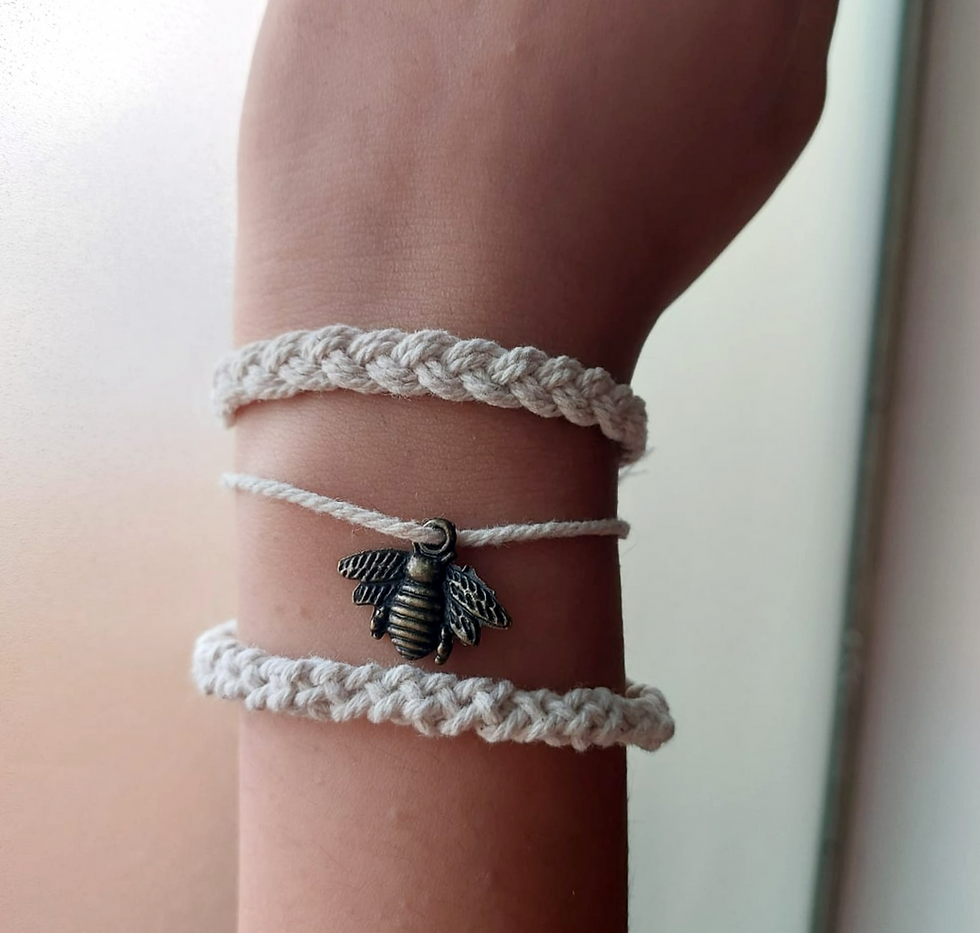
This is how the final set looks. For the middle bracelet, I kept it simple by just adding a hanging on plain thin cord. I chose a basic color as it goes with everything.
For the back to secure it, I made a hoop and a knot. The hoop was a little smaller than the knot but enough for the knot to pass through it and get secured.
Coming to the headband, I used 8 long strands of thick cotton cord in white color. Note that for a headband, the 8 strands have to be extra long to tie it at the back.
This braid is called a flat braid. We don't need a hoop to start this. I tied a knot at the beginning, leaving some extra to tie it later.
1. Keeping 5 strands to the left and three to the right, we start with taking the left most strand and go under one, over two and again under one. Now we can see 4 strands on the left and 4 strands on the right too.
2. Next step is to take the right most strand and go under one, over two. Again we have 5 strands on the left and 3 on the right.
3. Next we again take the left most strand and go over one, under two and again over one. Its basically the opposite of the first step.
4. The last step is to take the right most strand and go over one and under two which is the opposite of the second step. It might seem a little confusing at first and you might not be able to see the pattern in the beginning but trust the process and have patience! Its all about getting the hang of it.
Keep checking the measurements and lastly tie a knot, leaving some space to tie it.
There you go! You have your headband ready. It should look something like this-

Here are a few ways I like to wear this headband- You can wear it with a bun or just let your hair down!


I cannot wait to explore more with braiding and talk more about it!
Thank you for reading this post! You can always subscribe for more such content:)


Comments